Today we are going to install Hestia CP on Your VPS. x.x.x.x will denote your server's IPv4 Address.
1. login to your VPSCP control panel and then Click the right arrow .

2. Click on the Install button. 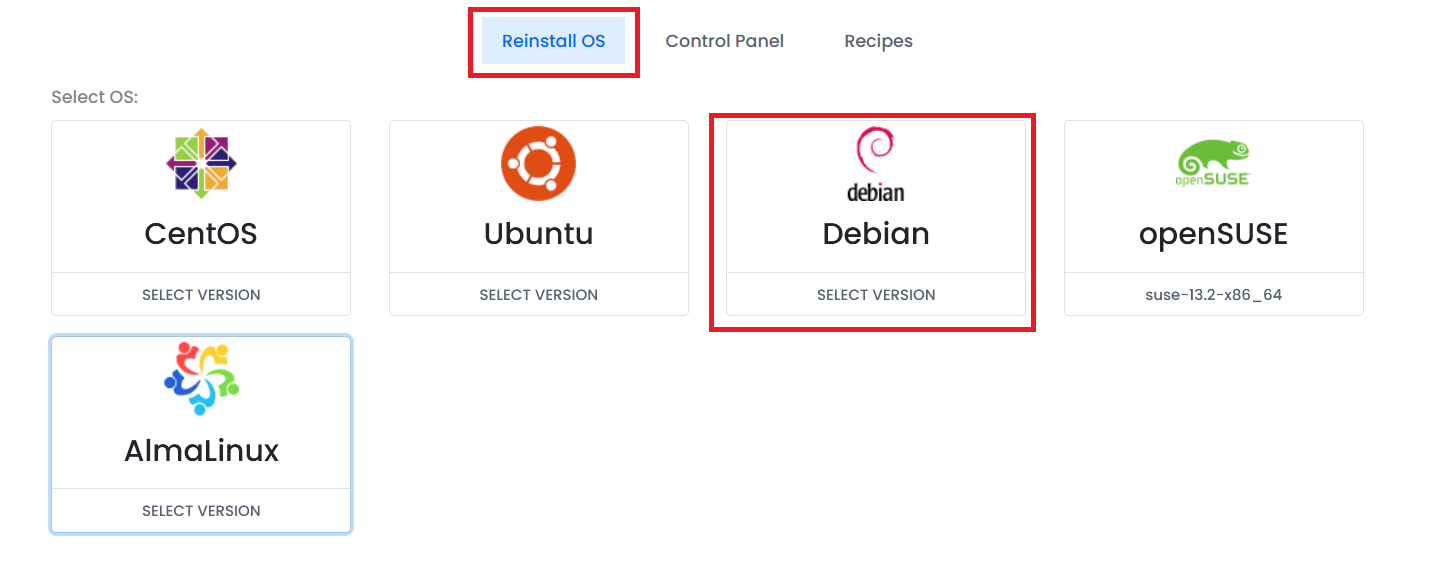
3. Click on the Reinstall OS button Once Navigated Click on Debian and then select 'debian-10-x86_64-hestiacp' image
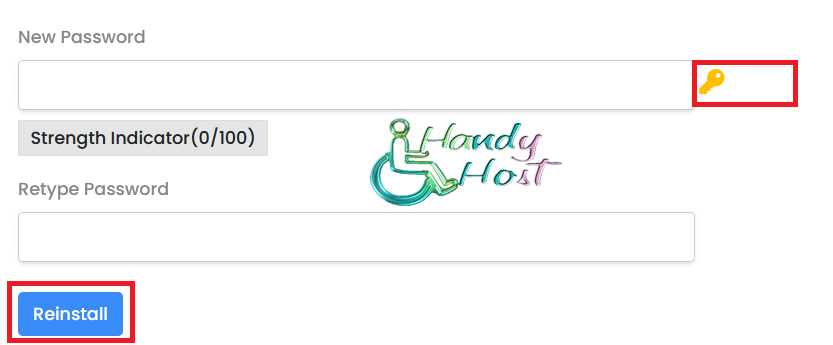
4. Now all we have to do is Generate a Password or you can simply type in a new one and Click on Reinstall. Please note that this will erase all your current data stored on the VPS Server.
5. Now you can SSH to your VPS from the Public IPv4 address via port 22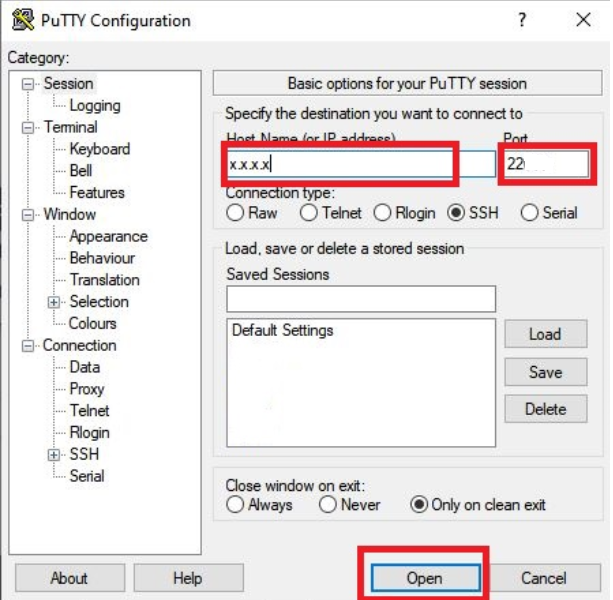
6. Replace xxx with your Public IPv4 Address and login as root
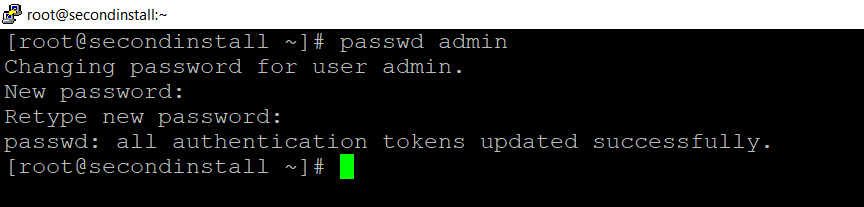
7. Now let's change the admin Password. Type passwd admin to change the Password and type in whatever Password you want. . Once you have typed a Password press Enter.
8. Copy the VPS IP Address and paste in on the browser.
https://x.x.x.x:8083/ (Replace x.x.x.x with your server IP)
Note: Password should be the password you have set on Step 10 not the root password.
Please open a Support Ticket if you have doubts or need help.
